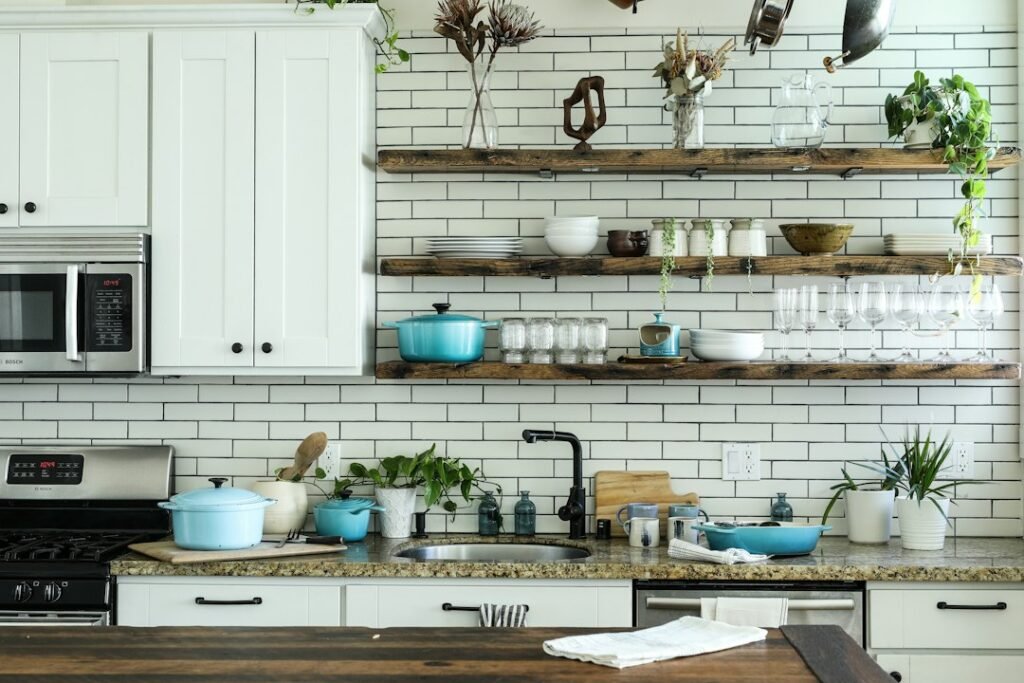
The best small-kitchen appliance storage system keeps frequently used tools easy to reach while protecting preparation space. Start by keeping only daily or near-daily appliances on the counter, assign accessible shelves to weekly tools, and store occasional appliances only when their weight, cord, sharp parts, and removable pieces can be handled safely.
Affiliate disclosure: As an Amazon Associate, we earn from qualifying purchases. Some links on this site may be affiliate links, at no additional cost to you.
This guide focuses on practical organization rather than buying more storage products. Always follow the exact appliance manual for cooling, cord handling, orientation, environmental conditions, and storage. Do not store a damaged, wet, hot, or food-soiled appliance.
Quick small-kitchen appliance storage checklist
- Keep only frequently used appliances on the counter.
- Measure appliances and shelves before rearranging.
- Store heavy appliances between knee and shoulder height when practical.
- Keep cords, plugs, blades, lids, and accessories protected.
- Allow appliances to cool, dry, and empty as instructed.
- Do not block ventilation, electrical panels, plumbing access, or exits.
- Separate food-contact components from cleaning chemicals.
- Use one labeled location for each appliance and its parts.
- Review unused appliances every three months.
1. Sort appliances by actual frequency of use
Make three groups: daily, weekly, and occasional. Use real behavior from the last two or three months rather than what you hoped to do when you bought the appliance.
- Daily or near-daily: candidates for a permanent counter position if they can be operated safely there.
- Weekly: candidates for an accessible cabinet, open shelf, or drawer that does not require difficult lifting.
- Occasional: candidates for deeper storage only when they remain easy to inspect and retrieve safely.
If two appliances do nearly the same job, compare which one better fits your normal batch, cleanup tolerance, and available space. Our small kitchen appliance checklist can help decide whether both deserve storage space.
2. Protect one clear preparation zone
Choose a section of counter that remains open for chopping, mixing, plating, and unpacking groceries. Avoid allowing appliance bases, cords, jars, and attachments to spread into this zone.
A clear preparation area is more useful than a counter lined with every appliance you own. If an appliance sits unused but occupies the only comfortable workspace, move it to an assigned storage location or reconsider whether it belongs in the kitchen.
Do not move a hot appliance merely to reclaim counter space. Let it finish operation and cool according to the manufacturer’s instructions before storage.
3. Measure before choosing a storage location
Record the appliance’s width, depth, height, and weight. Include protruding handles, feet, cord storage, and any part that should remain assembled. Then measure the shelf opening and the clear path used to lift the appliance in and out.
Storage fit and operating fit are different. A rice cooker may fit in a cabinet but require a different counter position during use. A bread machine may need more overhead room with its lid open. Use our counter-space measuring guide before assigning a permanent operating position.
4. Keep heavy appliances in the easiest lifting zone
When possible, store heavier appliances between roughly knee and shoulder height, where you can approach them closely and lift without reaching high or bending deeply. Individual ability, shelf design, and appliance shape matter, so choose a location that allows a secure two-handed grip.
Do not place a heavy appliance on top of a refrigerator, unstable shelving, or an overcrowded high cabinet merely because the footprint fits. A shelf must support the total load, and the appliance must not fall forward when the door opens or another item is removed.
Ask for help when an appliance is awkward, slippery, or beyond your comfortable lifting ability. Remove detachable parts first only when the manual permits and the parts can be carried safely.
5. Create one home for every accessory
Appliances often become difficult to use because cups, lids, paddles, trays, adapters, and manuals are scattered. Keep accessories together in a labeled bin, drawer section, or appliance-specific container.
Protect sharp blades so cutting edges cannot be reached accidentally. Do not leave a blade loose in a drawer or hidden beneath other components. Keep small pieces away from children and pets.
Store the manual with the appliance or save the official digital version using the exact model number. A manual is part of the storage system because it preserves cleaning, assembly, and troubleshooting instructions.
6. Handle cords without damaging them
Unplug by holding the plug as directed, not by pulling the cord. Let the appliance cool before arranging its cord. Use built-in cord storage only as instructed.
Avoid tight winding, sharp bends, knots, crushing the cord under the appliance, or closing it in a cabinet door. Do not use the cord as a handle. Check the plug and cord whenever the appliance is retrieved.
If the cord is cracked, frayed, pinched, loose, melted, or unusually warm during use, stop using the appliance and contact the manufacturer or a qualified professional. Do not tape over damage as a storage fix.
7. Use vertical space carefully
An open shelf, cabinet shelf, or sturdy wall-supported system can free counter space, but only when it is designed and installed for the load. Confirm shelf capacity, wall condition, mounting method, appliance weight, and safe retrieval clearance.
Do not place appliances where they can fall onto a cooking area, sink, doorway, bed, seating area, or person below. Keep heavy items lower and lightweight, rarely used items higher only when they can be reached safely.
Never block a sprinkler, smoke alarm, ventilation opening, electrical panel, plumbing shutoff, window needed for egress, or building safety equipment.
8. Consider a dedicated appliance shelf or cart
A dedicated shelf can consolidate weekly appliances and accessories. A cart may help in some layouts, but it must be stable, rated for the weight, and positioned so it cannot roll, tip, block a walkway, or place an appliance near water or heat.
Do not assume a storage cart is a safe operating surface. Follow the appliance manual regarding stability, ventilation, heat resistance, outlet connection, and counter placement. Move an appliance to an approved operating location when necessary.
If the cart has wheels, use locks as designed and avoid loading the top unevenly. Route no live cord across a walkway.
9. Keep sink and stove zones clear
Do not store electrical appliances where they can fall into the sink or be repeatedly splashed. Keep cords and plugs dry. Avoid locations where grease, steam, or heat from the stove will reach stored appliances.
Cooking appliances should not be stored directly beside combustible materials or where a hot unit might be pushed against them after use. Follow the placement and cooling instructions in the manual. Our countertop appliance safety checklist covers outlets, water, heat, clearance, cords, and warning signs.
10. Store clean, dry, empty, and cool
Remove food residue, water, crumbs, oil, and removable waste as instructed. Allow approved washable parts to dry completely before assembly or enclosed storage. Moisture trapped in a closed container can create odor, staining, or unwanted growth.
Do not immerse electrical bases. Do not seal a recently used hot appliance inside a cabinet. Do not leave perishable food in an appliance between uses.
Where raw food is processed, clean and separate components to reduce cross-contamination. The federal four food-safety steps emphasize cleaning, separating, cooking, and chilling.
Storage-zone planning table
| Storage zone | Best suited to | Check first |
|---|---|---|
| Counter | Frequent appliances with a safe permanent position | Clearance, outlet, water, heat, and preparation space |
| Waist-height cabinet | Weekly or moderately heavy appliances | Shelf load and two-handed access |
| Lower cabinet | Stable appliances that can be lifted comfortably | Bending, visibility, and clear retrieval path |
| Upper shelf | Lightweight occasional items | Safe reach and fall risk |
| Drawer or bin | Approved accessories and protected small parts | Sharp edges, labeling, and cleanliness |
| Cart | Consolidated storage in a suitable layout | Load rating, stability, wheel locks, and walkway clearance |
Storage ideas by appliance type
Rice cookers and multicookers
Empty and clean the inner pot and condensation components as directed. Protect the lid and power connection. Store the measuring cup and paddle together without placing them where they can scratch a cooking surface.
Blenders and food processors
Keep jars, cups, bowls, lids, and bases dry. Protect blades from accidental contact. Do not store heavy objects on plastic jars or locking tabs. Review our mini food processor versus blender guide if two appliances overlap in your routine.
Bread makers
Check operating height and lifting weight before choosing a shelf. Store the pan and paddle according to the manual, and keep ingredients separately in appropriate food-storage containers. Our guide to bread-machine counter space explains why the open-lid footprint matters.
Countertop ice makers
Drain, clean, and dry the machine as directed before extended storage. Do not enclose residual water. Protect the scoop and basket from contamination, and check the manual for orientation and storage-temperature requirements.
Portable induction cooktops
Allow the surface to cool, clean it using the approved method, and protect it from impacts. Do not stack heavy cookware on a glass surface unless the manufacturer permits it. Store the cord without sharp bends.
Use a one-in, one-out review
Before adding an appliance, identify its storage and operating locations. If both are already occupied, decide what will move. This does not require discarding a useful item; it prevents an unplanned pile of overlapping equipment.
Every three months, review appliances not used during the period. Check whether the reason is seasonal use, difficult access, burdensome cleaning, duplicate functions, missing parts, or a task you no longer perform.
Sell, donate, recycle, or dispose of unwanted appliances only through appropriate channels, and never pass on recalled, damaged, or unsafe equipment.
Frequently asked questions
Should appliances stay plugged in while stored on the counter?
Follow the exact manual. The U.S. Fire Administration advises unplugging small appliances when not in use. Keep plugs accessible, dry, and undamaged.
Can I store appliances on top of the refrigerator?
That location may create lifting, falling, heat, ventilation, and clearance problems. Use it only if the appliance and refrigerator instructions, load capacity, stability, and safe access all support the arrangement.
Can I stack small appliances?
Do not assume appliances are designed to support other equipment. Stacking can damage housings, controls, lids, vents, feet, or cords. Use separate shelf levels unless the manufacturer provides a supported storage method.
What should remain on the counter?
Usually only appliances used often enough to justify the space and able to remain in a safe location. Keep a clear food-preparation area and move less-used tools to accessible storage.
Bottom line
Preserve counter space by matching storage priority to actual use. Keep frequent appliances safely positioned, place heavier weekly tools on accessible shelves, protect cords and sharp parts, and store everything clean, dry, cool, and complete. A defined home for each appliance makes a small kitchen easier to use without adding more organizers than the space can support.