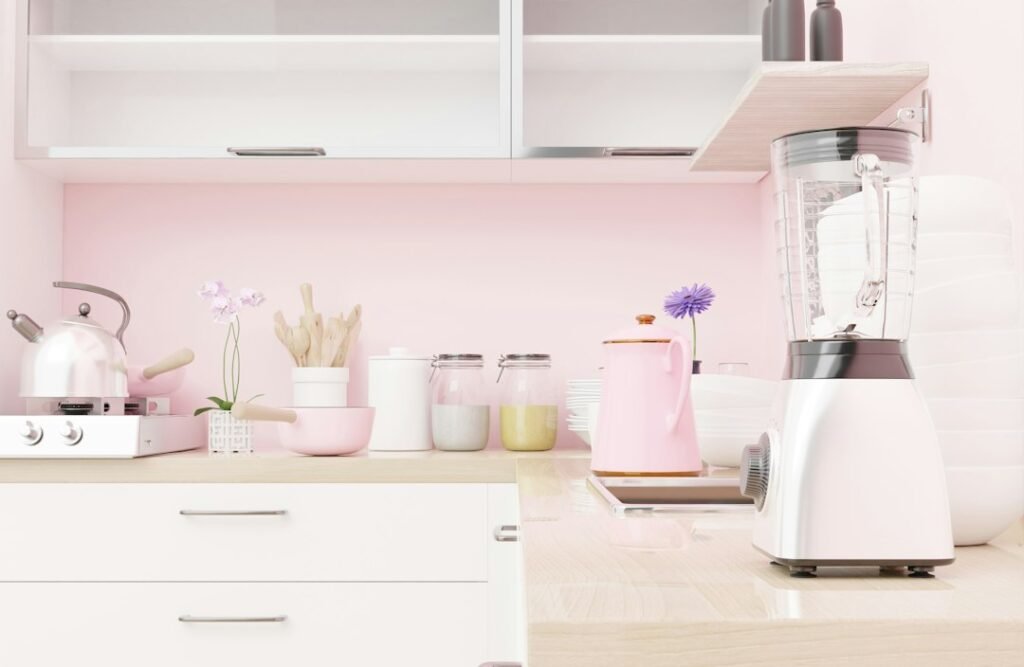
Choose a personal blender if you mainly make one drink at a time and want a compact cup-based routine. Choose a full-size blender if you regularly make larger quantities or need capabilities explicitly supported by a particular pitcher model. Neither format is automatically better: the right choice fits your normal recipes, usable batch size, storage, and cleaning habits.
A bigger pitcher does not guarantee better small-batch results, and a compact cup does not guarantee that every smoothie ingredient is permitted. Check the exact model’s manual before comparing price or motor wattage.
This guide is a task-based comparison informed by manufacturer information, not a hands-on performance test. We do not claim measured blending times, noise levels, or equivalent results across models.
Affiliate disclosure: As an Amazon Associate, we earn from qualifying purchases. Some shopping links below are affiliate links.
Personal blender vs full-size blender: quick decision
| Your priority | Format to investigate first | What to verify |
|---|---|---|
| One breakfast smoothie | Personal blender | Usable cup capacity and permitted ingredients. |
| Several drinks in one batch | Full-size blender | Recommended batch size and maximum fill. |
| Drinking from the blending vessel | Personal blender | Included drinking lid and transport instructions. |
| Very limited cupboard space | Whichever complete system fits | Base, containers, lids, and accessories together. |
| Hot mixtures | Only a model explicitly approved for the task | Temperature, container, lid, and operating method. |
| Ice or frozen ingredients | Either, if specifically supported | Ingredient amounts, preparation, and liquid requirements. |
| Occasional blending only | Your existing suitable equipment | Whether a new appliance solves a recurring problem. |
Use this table to narrow the format, then check individual models. It is not a guarantee of performance or suitability.
What makes a personal blender different?
A personal blender typically centers on a smaller blending cup and a single-serving workflow. Some designs let you replace the blade assembly with a drinking lid; others use a different arrangement. Check the actual parts rather than assuming every model works the same way.
Hamilton Beach’s blender range includes personal and larger formats with different containers and features. This illustrates why “blender” alone does not identify the capacity, accessories, or supported tasks.
The practical appeal is a manageable routine: prepare a permitted recipe, blend within the instructions, and use the intended drinking container. But extra cups, lids, or accessories still need cleaning and storage. A small base is not the complete footprint.
“Personal” also does not necessarily mean cordless or portable during operation. Verify power requirements, charging instructions where applicable, and intended use. A travel lid is not authorization to operate the appliance anywhere.
What makes a full-size blender different?
A full-size blender usually uses a pitcher or jar for preparing quantities that may then be poured into serving containers. Models differ in capacity, controls, blade arrangement, and supported ingredients.
A larger vessel can be useful when your normal recipe calls for more than one cup-based batch. The tradeoff is that the pitcher, lid, base, and serving containers all become part of your workflow.
Do not assume a full-size model can perform every difficult task. Hot liquids, dry grinding, thick mixtures, and ice processing each require explicit permission. Size and a high wattage figure do not replace operating instructions.
If you normally make very small portions, check whether the pitcher supports those quantities. Buying more capacity than you need can create a storage problem without solving your actual recipe problem.
Serving size should lead the decision
Write down the finished amount you typically make. Is it one breakfast drink, two different drinks, or a shared batch? Compare that with the appliance’s usable limits, not just the headline container volume.
Maximum fill lines and ingredient-specific instructions matter. A container’s nominal size does not mean you can fill it completely for every recipe. Follow any separate limits for particular mixtures.
If two people prefer different ingredients, two separate permitted batches may be more convenient than one larger shared batch. If everyone wants the same mixture, a suitable pitcher may simplify serving.
Do not buy around an occasional gathering unless it is important enough to justify the everyday storage. Your normal week is a better guide than the largest batch you might ever imagine making.
Check recipes and ingredients before buying
List your frequent ingredients and intended results. Then check the manual or manufacturer-approved recipes for each shortlisted model.
For frozen fruit or ice, verify permission, preparation, quantity, and any required liquid. Do not assume all frozen ingredients behave alike or that a product photo establishes an approved method.
For thick mixtures, check the documented process and operating limits. Do not reach into a running container to push ingredients down. Use a tamper only when the appliance provides an approved method and compatible tool.
If the actual goal is chopping textured ingredients rather than making a smooth drink, you may be comparing the wrong category. Our mini processor vs blender guide explains that decision without assuming you need both.
Hot ingredients need a separate safety check
Do not treat a sealed blending cup as a hot-soup container. Bullet Brands’ NutriBullet support guidance warns against hot ingredients in its cups because steam can create pressure in the sealed container.
For any model, use hot ingredients only when the exact container and operating method are explicitly approved. A larger pitcher is not automatically suitable either.
Do not improvise by loosening a blade assembly, removing a required lid, or following a venting trick intended for a different product. If hot soup is a major reason for your purchase, establish the appropriate appliance and procedure before ordering.
This comparison is not a hot-blending tutorial. Follow the manufacturer’s temperature, filling, lid, and processing instructions for an approved task.
Measure the complete small-kitchen setup
Measure assembled height, width, and depth, plus the operating space required by the manual. Check whether you can remove a container or open a lid under your cupboards.
Include every accessory in the storage plan. A bundle with several cups may take more space than expected even when its base is narrow. Conversely, a pitcher model that stores neatly in your existing cabinet may be less awkward than several loose cup lids.
Consider weight and retrieval too. Will you leave it on the counter, or lift it out daily? A machine that is inconvenient to retrieve may be used less often than your intended breakfast routine suggests.
A practical test is to reserve the cupboard space and mark the operating footprint before buying. Include a safe drying area for the removable parts. Product photography rarely shows the entire cleanup footprint.
Compare cleanup, not just container size
Count the parts washed after your usual recipe. Include drinking lids, serving containers, seals that the manual allows you to remove, and other food-contact components.
Check dishwasher permission individually. Do not assume every cup, lid, blade assembly, or pitcher can go on any rack or cycle. The motorized base is an electrical component, not a washable food container.
Disconnect power and follow the safe disassembly method before handling cutting parts. Do not reach around blades inside an assembled container or leave sharp components hidden among dishes.
Do not run cleaning liquid through the appliance unless the exact model’s instructions authorize that method. A hand-washing instruction does not automatically permit a powered cleaning cycle.
For a small kitchen, fewer parts can be a genuine convenience—but only if the appliance also fits the recipe. A simple cleanup does not make an unsupported ingredient safe to process.
Controls, wattage, and noise: avoid shortcuts
Compare controls against what you need to do. A preset can simplify a supported recipe, but it does not validate every ingredient combination or remove operating limits.
Motor ratings do not, by themselves, establish finished-food quality. Peak and other wattage descriptions may not be directly comparable. Avoid ranking models solely by the largest number on the box.
Likewise, do not assume a smaller blender is quieter. Without comparable measurements under the same conditions, a category-wide noise ranking would be guesswork. Check credible model-specific information and consider your shared-space routine.
If quiet early-morning use is essential, factor that into the shortlist rather than treating it as a benefit guaranteed by the word “personal.”
A useful one-week buying exercise
Record the drinks or mixtures you actually made during a typical week. Note quantity, ingredients, whether you served one or several people, and what was inconvenient.
- Mostly one-person drinks: investigate a suitable personal model first.
- Mostly shared batches: investigate an appropriately sized pitcher model.
- Different recipes for different people: compare separate batch effort against the storage and cleaning of the full system.
- Rare blending: delay buying until the recurring need is clear.
If your existing blender already performs the approved tasks conveniently, a new format may not add much. Replacement is not a necessary step toward a better-organized kitchen.
What about a combination system?
A system with both personal cups and a pitcher may offer flexibility, but it does not automatically save total space. Compare the complete accessory set and the documented limits of each container.
Verify what comes in the exact package. Similar model names may have different bundles, and accessories are not necessarily interchangeable.
Choose a combination only when you can identify regular uses for its components. Hypothetical future recipes are a weak reason to fill a small cupboard with extra parts.
Where to start shopping
For a single-serving shortlist, see our personal blender guide for small kitchens. You can also read our guide to the best compact personal blenders or our guide to the best compact countertop blenders.
Verify the model, usable capacity, included accessories, supply requirements, manual, and cleaning instructions before ordering.
Affiliate links: as an Amazon Associate, KitchenFitly earns from qualifying purchases. Models come from our research-based guides; check the exact listing and manual before buying.
- Personal blender: NutriBullet Pro 900. The top pick in our personal blender guide. Check it on Amazon →
- Full-size blender: KitchenAid K150. Best overall for small kitchens in our countertop guide: 48 oz jar plus two 16 oz cups. Check it on Amazon →
Full guides: personal blenders and countertop blenders.
Frequently asked questions
Is a personal blender enough for two people?
Possibly if separate permitted batches suit your routine. Compare the actual quantities, operating limits, and cleanup rather than relying on household size alone.
Does a full-size blender make better smoothies?
Not automatically. Performance depends on the particular model, recipe, loading, and instructions. This guide does not claim measured superiority.
Can either format crush ice?
Only when the exact model supports the intended method and quantity. Check any liquid requirements and restrictions.
Do I need both formats?
Only if each solves a recurring problem worth its cost, cleaning, and storage. Start with your most frequent task.
Bottom line
Choose a personal blender around a one-serving routine; choose a suitable full-size model around larger regular batches or specifically supported tasks. Check the complete system, not just the base, and let your normal recipes—not advertised versatility—lead the purchase.
Leaning toward a full-size model? Compare compact options in our best countertop blender for a small kitchen guide.
Illustrative smoothie photo by Andrea Niosi on Unsplash. It is not a photograph of our blender testing.
Pingback: Personal Blender Not Blending Smoothly? Safe Checks
Pingback: How to Clean a Personal Blender Safely
Pingback: How to Create Appliance Zones in a Small Kitchen