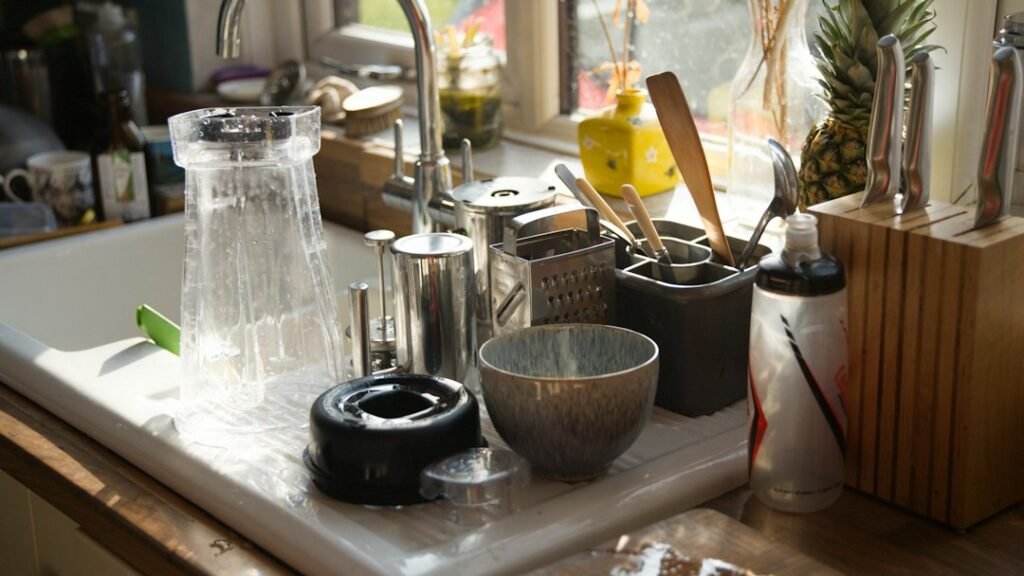
To clean a personal blender safely, stop operation, follow the exact model’s power-isolation instructions, and separate only the parts approved for removal. Wash permitted cups and lids, handle cutting parts carefully, and keep the motorized base out of washing water. Dry and inspect components before reassembly or storage.
Do not assume every blade is dishwasher-safe, every gasket can be removed, or every blender permits a powered soapy-water cleaning cycle. Those are model-specific instructions.
This guide covers an everyday small-kitchen cleanup routine, not hands-on cleaner tests or internal repairs. Your appliance manual takes priority over general advice.
Affiliate disclosure: As an Amazon Associate, we earn from qualifying purchases. Some shopping links below are affiliate links.
Start with this quick checklist
- Identify the model and whether it is corded or battery-powered.
- Stop the motor and wait until all movement finishes.
- Follow the documented power-isolation and disassembly procedure.
- Check washing permission for each component.
- Keep blades visible and fingers away from cutting edges.
- Do not remove a fixed gasket or open the electrical housing.
- Dry, inspect, and store parts safely.
Set aside a clear working and drying area before starting. A small cup-based blender still has several components, and a crowded sink makes careful handling harder.
Why model-specific instructions matter
NutriBullet’s after-blending cleaning guidance recommends hand washing the blade, permits specified cups and accessories on the dishwasher’s top shelf, and requires the unplugged base to be wiped rather than submerged.
Its separate Portable Blender cleaning guidance includes a model-specific powered cleaning method. That does not authorize the same method for a different personal blender.
Read the instructions for your exact design, container, and blade assembly. A familiar brand name or similar-looking cup is not enough to establish cleaning compatibility.
Cleaning permission by component
| Component | Check in the manual | Avoid |
|---|---|---|
| Blending cup | Hand-washing method, dishwasher permission, and rack position. | Assuming boiling-water or microwave tolerance. |
| Drinking lid | Approved removable pieces and cleaning access. | Forcing apart fixed assemblies. |
| Blade assembly | Safe grip, removal sequence, and washing method. | Grabbing edges or hiding the blade among dishes. |
| Gasket or seal | Whether removal is explicitly permitted. | Prying out a factory-sealed gasket. |
| Motorized base | Exterior wiping and power-isolation instructions. | Immersion, tap rinsing, or dishwasher washing. |
| Charging connection, if present | Moisture precautions and return-to-charge requirements. | Connecting wet electrical parts. |
A component being food-contact safe does not automatically mean it tolerates every cleaning temperature, chemical, or appliance cycle.
Step 1: stop and isolate power correctly
Finish operation and wait for the blade to stop. For a corded model, unplug before disassembly and manual cleaning as instructed.
For a rechargeable blender, disconnecting the charger does not remove the battery’s stored energy. Use the manual’s shutdown, lockout, or safe-handling procedure. Do not assume pressing the power button once establishes safe access to the blade.
If a battery-powered design keeps cutting parts attached to the motorized base, follow its specific cleaning method without touching edges or trying to separate a fixed assembly.
Do not bypass an interlock or activate the appliance with parts removed to check whether it is off. Keep children away from the cleanup area.
Step 2: disassemble only approved parts
Follow the documented order for removing the cup, blade assembly, and lid components. Designs differ; do not assume twisting or lifting works the same as on your previous blender.
Use the designated non-cutting grip for removable blades. Put sharp parts in a visible, stable place where nobody will accidentally reach for them.
If a cup or blade assembly will not release, stop and check the manufacturer’s troubleshooting. Do not use a knife, apply excessive force, or reconnect power to make it move.
Do not dismantle a sealed blade housing or motor base. If the approved removal method fails, contact support.
Step 3: wash cups and lids
Use the permitted hand-washing or dishwasher method. Check detergent suitability, water-temperature instructions, and any restrictions on soaking.
For dishwasher use, verify the rack and orientation for each part. Secure components as instructed, and inspect accessible surfaces after washing. A completed cycle does not prove every recess is free of residue.
Drinking lids can have openings, threads, or approved removable pieces that need separate attention. Identify them from the parts diagram rather than prying apart the lid.
Keep small pieces together while washing and drying. Reinstall them correctly before use; do not operate with a missing required component.
Step 4: handle the blade deliberately
Follow the exact blade-washing directions. Do not assume dishwasher permission from the cup applies to the blade assembly.
If the instructions permit a brush, use a suitable tool and the prescribed handling method. Keep fingers away from edges. Never leave a sharp assembly concealed in a bowl of soapy water or underneath utensils.
Do not scrub aggressively around bearings or seals, sharpen the blade as a cleaning step, or use an abrasive compound to restore its appearance.
If food remains in an inaccessible area after the approved process, ask support for advice. Opening the assembly is not a generic deep-cleaning method.
Step 5: check seals without damaging them
Not every gasket is removable. NutriBullet’s gasket guidance describes factory-sealed blade gaskets that are not designed for removal and advises replacement of the appropriate assembly when the seal is damaged.
For your model, remove a seal only when the instructions explicitly permit it. Do not pry with a sharp tool or copy a technique for a different design.
If removal is approved, follow the specified cleaning, drying, and installation sequence. Check orientation and seating before use.
A torn or loose seal is not something to fix with glue, tape, or an unrelated replacement ring. Obtain exact-model advice.
Step 6: wipe the motorized base separately
Use the approved exterior-cleaning method with controlled moisture. Keep liquid away from openings, controls, electrical connections, and any charging port.
Do not immerse the base, rinse it under a tap, or put it in the dishwasher. Do not spray cleaner into seams or open the housing to reach residue.
If liquid entered electrical parts, stop using the appliance and follow manufacturer guidance. Do not plug in or charge it to see whether it still works.
Smoke, sparking, a burning electrical smell, or visible electrical damage requires stopping use and obtaining appropriate advice, not a stronger cleaner.
What about a soapy-water blending cycle?
Use one only if your exact model provides that method. Follow the specified water temperature, amount, detergent, assembly, and cycle.
Do not improvise with hot water or carbonated liquid in a sealed cup. Do not loosen required parts to vent a cleaning mixture.
A powered cleaning method is not permission to reach inside during operation or to wash the motorized base. Inspect and complete any manual cleaning and rinsing the instructions require afterward.
Dry, inspect, and store
Dry components as directed before putting them away. Check for cracks, damaged locking tabs, worn seals, and other visible problems without touching cutting edges.
Store sharp parts using the manufacturer’s guidance, outside children’s reach. Do not leave exposed blades loose in a general drawer.
In a small kitchen, include drying space in the routine before making the drink. Stacking wet parts tightly to clear the counter can make inspection and safe storage more difficult.
Keep the manual and model number accessible for replacement-part questions. Similar-looking cups, lids, and blades are not necessarily interchangeable.
Odors, stains, and sanitation questions
Start with the approved cleaning process. Do not automatically escalate to bleach, vinegar, baking soda paste, boiling water, or abrasive pads.
Check accessible lid areas and any approved removable seals for residue. If an odor or mark persists and you cannot identify it, photograph the area and ask support.
Ordinary washing is not automatically a validated sanitizing process. Where specific sanitation or allergy precautions are required, follow authoritative food-safety guidance and confirm material compatibility with the appliance.
A visibly clean cup alone is not proof that it is suitable for every allergy situation. Include surrounding utensils and work surfaces in the relevant precautions.
Replacement parts before replacement appliances
Ask support about exact-model parts and warranty options when a component is damaged. Do not bypass a broken safety feature or substitute an unapproved accessory.
If replacement of the appliance is advised, see our personal blender buying guide and personal versus full-size comparison.
You can also read our guide to the best compact personal blenders. Check cleaning instructions, included components, and supply requirements before ordering.
Frequently asked questions
Can every blade go in the dishwasher?
No. Check the exact blade assembly’s instructions separately from cup and lid permissions.
Should I remove the gasket?
Only if the manual explicitly permits removal. Some are factory-sealed.
Is a rechargeable blender safe to clean after unplugging its charger?
It still contains battery power. Follow its specific shutdown and safe-handling directions.
Can cleaning repair a leaking seal?
Do not assume so. Ask support about damaged or persistent leaking components rather than modifying them.
Bottom line
Use the exact model’s power-isolation, washing, and storage directions. Keep cutting parts visible, fixed seals intact, and electrical components out of water. A simple repeatable routine beats a universal cleaning hack.
Illustrative dishwashing photo by Laura Ohlman on Unsplash. It does not show our blender-cleaning tests.
Pingback: Personal Blender Not Blending Smoothly? Safe Checks