Updated September 2026
Amazon affiliate disclosure: KitchenFitly is a participant in the Amazon Services LLC Associates Program. As an Amazon Associate, we earn from qualifying purchases. This does not affect our recommendations.
Safety first: Cleaning instructions vary by model. The manual for your exact electric lunch box overrides general advice. Unless the manufacturer explicitly says otherwise, never immerse the powered base, cord, plug, vehicle connector, control panel, or lid containing electrical parts.
To clean an electric lunch box safely, unplug it, let it cool, remove every washable food-contact part, and clean those pieces with warm water, mild dish soap, and a nonabrasive sponge. Wipe the powered base with a damp—not dripping—cloth, keep water away from electrical connections, and dry every component completely before reassembly.
Most daily cleaning takes only a few minutes when done immediately after eating. Delaying allows rice, cheese, curry, and sauces to dry around the gasket, steam vent, corners, and heating surface, where they become harder to remove.
Quick cleaning checklist
- Switch off and unplug from the wall or vehicle outlet.
- Let the appliance and food container cool.
- Remove the inner tray, lid, gasket, dividers, and utensils only as permitted by the manual.
- Discard leftovers and wipe away loose food.
- Wash approved removable parts with mild dish soap.
- Wipe the electrical base and heating plate carefully.
- Rinse washable parts thoroughly.
- Air-dry or towel-dry everything completely.
- Inspect the gasket, latches, cord, and connectors before the next use.
Know which parts can get wet
| Part | Typical cleaning method | Main precaution |
|---|---|---|
| Removable stainless steel tray | Hand-wash; dishwasher only if explicitly approved | Avoid steel wool and harsh abrasive cleaners |
| Removable plastic food container | Hand-wash; dishwasher only if labeled for it | Replace if cracked, warped, or deeply scratched |
| Detachable gasket | Wash gently if removal is allowed | Reinstall in the correct orientation after full drying |
| Food lid or divider | Wash according to manual | Check whether the lid contains a powered heater or electronics |
| Powered base | Wipe with a lightly damp cloth | Do not immerse or rinse under a tap |
| Power cord and plug | Wipe only when disconnected | Never reconnect while damp or damaged |
| Vehicle connector | Dry wipe or manual-approved method | Remove crumbs and moisture before inserting into an outlet |
This table describes common designs, not universal permissions. Some lunch boxes integrate electrical components into the lid or container. Confirm every removable and dishwasher-safe claim in the current manual.
Step-by-step: daily cleaning
1. Disconnect every power source
Unplug the cable from the wall outlet or vehicle first, then disconnect a detachable cable from the lunch box if the manual directs. Do not clean while the unit is powered, and do not pull a plug by its cord.
2. Allow the unit to cool
A hot stainless tray, steam vent, or heating plate can cause burns. Opening a sealed hot container may also release steam. Wait until parts are comfortable to handle without rushing the cooling process with cold water, which may damage some materials.
3. Separate approved removable parts
Lift out the food tray and remove dividers, utensils, and the lid components intended for washing. If the gasket is designed to be removed, note its direction before taking it out. Never pry apart a powered lid or sealed electrical assembly.
4. Remove food before adding water
Scrape leftovers into a waste or compost container. Use a soft paper towel or silicone scraper for oily residue. Keeping chunks out of the sink prevents blocked drains and reduces the amount of greasy water reaching hinges and gasket channels.
5. Wash food-contact parts
Use warm water, mild dish detergent, and a soft sponge or cloth. Work around corners, divider rails, lid grooves, the steam vent, and the gasket channel. Avoid knives, metal scrapers, scouring powder, bleach, or concentrated chemicals unless the manufacturer specifically permits them.
6. Wipe the base and heating area
Use a cloth that is damp enough to lift spills but not wet enough to drip into seams. For dried residue, place the damp cloth on the spot briefly, then wipe gently. Never pour water into the base, hold it under running water, or clean connectors with a wet tool.
7. Dry before storage
Moisture trapped under a gasket or closed lid encourages odor and microbial growth. Dry parts individually and leave the unit open until no condensation remains. Reassemble only after connectors and contact surfaces are completely dry.
How to remove curry, tomato, and oil stains
Clean colored sauces as soon as possible. Stainless steel usually releases pigments readily with dish soap, while some plastics can retain turmeric, tomato, or chili oil. Do not respond with an aggressive solvent that could damage food-contact material.
- Begin with warm soapy water and a longer gentle soak for the removable container only.
- Use a soft brush on corners if the manual permits it.
- Repeat mild cleaning rather than using abrasive pads.
- Do not soak the electrical base to loosen a stain.
- Replace a plastic container that has warped, cracked, become tacky, or developed deep scratches.
If stain resistance is a priority, our stainless steel vs. plastic electric lunch-box comparison explains the tradeoffs.
How to remove odor
Start by locating the source. The removable gasket, steam vent, lid channel, and carrying bag often retain more smell than the food tray. Wash approved pieces, rinse away all detergent, and dry them separately.
Do not mask persistent odor with perfume, essential oil, or an unapproved cleaner. Those substances can transfer to food or degrade seals. If normal cleaning does not work, consult the manufacturer’s care instructions for an approved deodorizing method or replacement gasket.
Can an electric lunch box go in the dishwasher?
Only parts explicitly marked dishwasher-safe can go in the dishwasher. “Removable” does not automatically mean dishwasher-safe. Heat and detergent can warp a plastic lid, deform a gasket, dull a finish, or damage a bonded base.
The powered unit, cable, plug, and vehicle adapter should never enter a dishwasher. If the product listing and manual disagree, follow the more restrictive instruction and ask the manufacturer for clarification.
Can you soak the inner tray overnight?
A separate stainless or plastic food tray may be soakable if the manual allows it. Long soaking is rarely necessary when the tray is cleaned promptly. Never soak a container with an integrated heater, exposed electrical contact, fixed cable, or nonremovable powered bottom.
Cleaning a 12V or 24V lunch box
Vehicle-powered models collect dust and food debris around their connectors. Disconnect the lunch box from the vehicle before cleaning, keep the socket and plug dry, and inspect for bent contacts, melted plastic, frayed cable insulation, or discoloration.
Never test a damp connector. Voltage compatibility also remains essential: read 12V vs. 24V electric lunch boxes before replacing a cord or moving the device to another vehicle.
Weekly deep-clean routine
- Inspect under removable gaskets and around the steam vent.
- Check latches for trapped food and smooth operation.
- Wipe the carrying handle and exterior seams.
- Clean the storage bag according to its label.
- Inspect the heating plate for spills or corrosion.
- Check cords, plugs, adapters, and strain-relief points.
- Confirm that the lid still closes evenly and the gasket is not stretched.
Stop using the device if electrical parts are loose, scorched, cracked, wet internally, or giving off an unusual smell. Cleaning cannot correct electrical damage.
Food safety after cleaning
FoodSafety.gov summarizes safe handling as Clean, Separate, Cook, and Chill. A clean lunch box still needs correct meal storage. Keep perishable food cold until it is time to heat, avoid cross-contamination from raw foods, and verify reheating with a food thermometer.
U.S. guidance lists 165°F (74°C) for reheating leftovers. Steam at the edges does not prove that the dense center is hot enough. Stir when the manual permits, measure more than one area, and read how long an electric lunch box takes to heat food for the variables that affect timing.
Cleaning mistakes that shorten appliance life
- Immersing the powered base or rinsing it under a tap.
- Closing the lid while parts are still damp.
- Using steel wool on stainless steel or abrasive powder on plastic.
- Pulling a removable gasket without checking the manual.
- Using toothpicks or metal objects inside electrical connectors.
- Running every removable part through a dishwasher without confirmation.
- Allowing sauce to burn repeatedly on the heating surface.
- Operating with a damaged cord, plug, latch, or seal.
Features that make a lunch box easier to clean
When replacing or upgrading, look for a fully removable inner container, accessible corners, a removable manufacturer-approved gasket, replaceable lid parts, and clear dishwasher guidance. A complicated multi-compartment insert may organize food well but creates more seams to wash.
Review our best electric lunch box for work for a broader buying framework. Construction workers can prioritize rugged latches and washable carrying components in our jobsite lunch-box guide.
our guide to the best electric lunch boxes
Frequently asked questions
Can I wash an electric lunch box under running water?
Only a fully removable, non-electrical container may be rinsed if its instructions allow it. Do not place the powered base, fixed heater, plug, or cord under running water.
How often should I clean it?
Clean food-contact parts after every use. Wipe spills from the base once it is unplugged and cool. Inspect gaskets, vents, latches, and electrical components at least weekly when the lunch box is used daily.
Why is water trapped inside the lid?
Some lids have channels, vents, or hollow sections that retain rinse water. Shake and air-dry only as the manufacturer directs. If a powered or sealed lid appears to have water inside it, stop using the device and contact the manufacturer.
Can I use bleach?
Do not use bleach unless the exact product instructions authorize a dilution and contact method. Strong chemicals can damage metal finishes, plastics, gaskets, and printed markings and may leave unsafe residue.
When should I replace the inner container?
Replace it when it is cracked, warped, heavily scratched, corroded, no longer sits flat, or fails to seal with approved parts. Obtain the replacement specified for the exact model.
Bottom line
The safe method is simple: unplug, cool, separate, wash only approved removable parts, wipe the base, and dry completely. Pay special attention to gaskets, vents, corners, and connectors, but never trade electrical safety for a deeper wash.
Cleaning promptly protects flavor, seals, and heating contact. More importantly, it makes damage easier to notice before the next wall- or vehicle-powered use.
Sources and further reading
- FoodSafety.gov: Four steps to food safety
- FoodSafety.gov: Safe minimum internal temperatures
- USDA FSIS: Leftovers and food safety
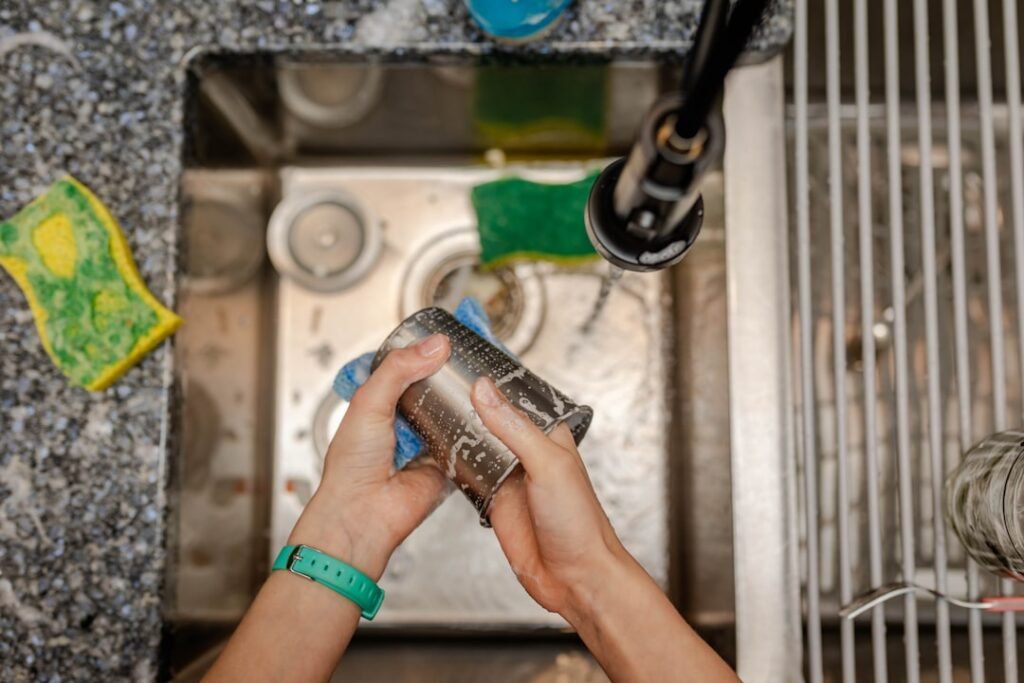
Featured photo by Laura Ohlman on Unsplash.
Pingback: Electric Lunch Box vs Insulated Food Jar
Pingback: Cordless vs Plug-In Electric Lunch Box | KitchenFitly